
The finished project is modern and fun!
Interior designers may not be the easiest folks to live with.
True, our homes are probably more functional, interesting and aesthetically-pleasing than some others.
Our spouses and children probably don’t have to worry that their homes are boring.
But then again, they have to endure more redecorating, construction, painting and rehabbing than most families.
Because for a designer, when the creativity bug bites, we have to scratch that itch!
I’m pretty sure my family wants to run when I start a sentence with, “I wonder what this would look like if I . . .”
You’d think we’d want nothing to do with design once we get home since we do it all.
But frankly, when you love to be surrounded by beauty and style, you want it everywhere you look – especially in your own home.
I’m sure my husband wasn’t surprised when I looked at our bedroom furniture one day and decided it needed a complete – and immediate – facelift.
Now, if I had my druthers, I’d probably have opted to go shopping for new furniture. But as we all know, sometimes new just isn’t in the budget.

The BEFORE shot of the same piece.
I initially thought about painting the entire bedroom set. But then I decided it might be more interesting to only paint the drawers, and leave the rest the stained finish.
I personally like to see quick results in my DIY projects, and I don’t like my home to be in disarray for very long.
So instead of sanding and re-staining or using a brushed-on paint, I opted for the easy route.
First, I took out the drawers and removed the hardware. Then I wiped down each one with soap and water, making sure to remove any soapy residue with a rinse of water.
I let each drawer dry completely before putting on my first coat of spray paint plus primer from Valspar. When using spray paint, make sure to use it outdoors or in a very well-ventilated area.
Put on light, even coats and let them dry before adding another coat!
After the drawers were sufficiently coated, I added a satin clear enamel from Rustoleum. This will help prevent chipping.
I wanted a pop of color on the drawers to pick up the shades of blue green in my bedroom, so I found the round knobs at Hobby Lobby. I took the original pulls and spray painted them gold to match the new knobs.
Once the paint was completely dry, I reassembled the hardware and the drawers, and added my accessories to the piece. For a total project cost of under $50, I’m thrilled with the final result!
-
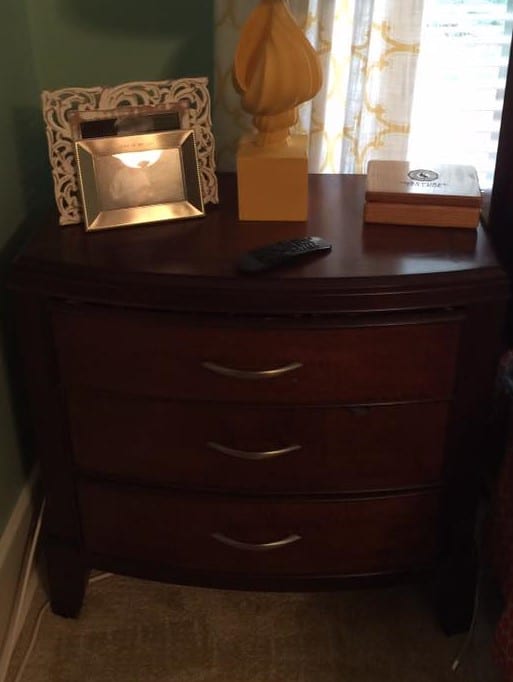
- Nightstand before. . .
-
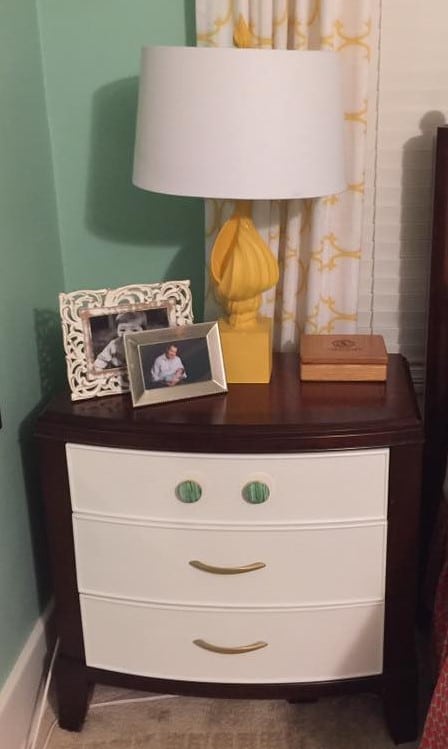
- Nighstand after!